For all Camera Systems
(5th March 2022)
Setting-up & Using Red Dot Sights
- In Practical Situations
My quick and
dirty method to setup and calibrate - no tripod needed!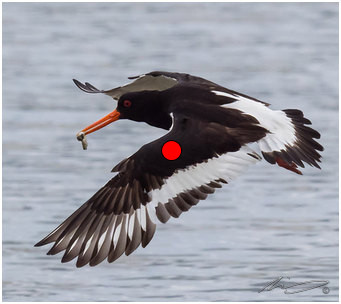
I have used DIY
red-dot sights and all can work fine, but for convenience, compactness
and speed, I now use the wonderful Olympus Red Dot sight.
Red Dot sights are most useful on long zoom lenses, when you need to
fill the frame with fast erratic action. …Especially if you are not sure
when or where the subject will appear from. This is simply because they
allow a wider field of view.
The
big problem is parallax and focal distance.
Example: last week when photographing small birds flying to a feeder I
set up red dot sight for a small bird to fill the frame with my lens set
at 100mm. Initially I was slightly to close for the birds comfort, so
moved back and reset lens to 150mm.
But now when red dot appeared to be on target the bird was only half in
the frame! ... Hence the need for quickly recalibrating the RD sight!
The parallax problem was also compounded when birds arrived from
slightly different angles and thus differing distances from my camera.
This necessitated more, or less zoom, accordingly for almost every other
shot and which under normal circumstances would require frequently
resetting the red dot sight. However there are simple ways around this
problem!
So this is my quick and dirty method to setup, recalibrate handheld &
use a Red Dot sight (and it’s very accurate):
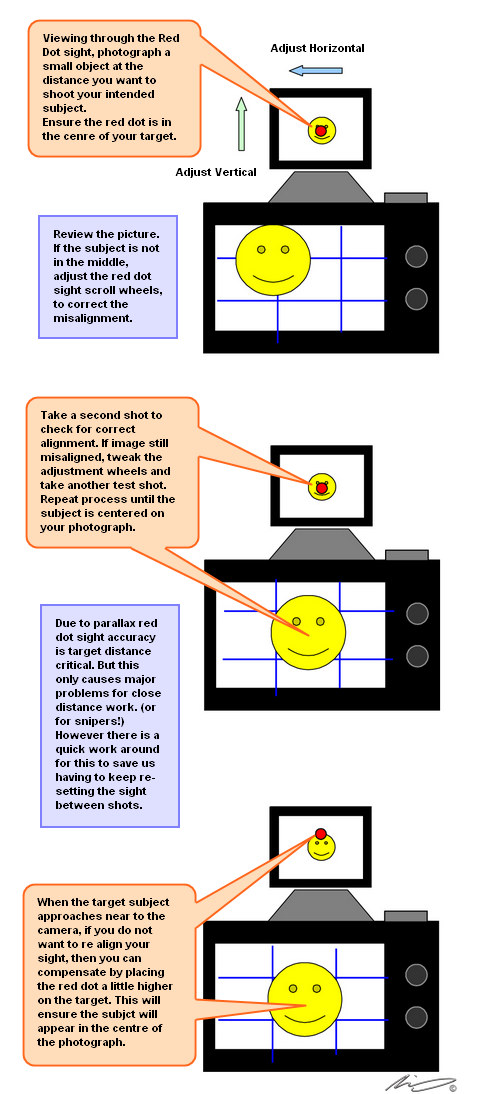
1). Initially using the red dot sight (and not the rear LCD or
viewfinder), point camera at any small object at approximately the
distance you expect to be photographing your target subjects at (I use a
stone on the floor) and ensure the red dot is in the middle of your
chosen target and take a shot.
2). Look at the resulting photo. If the target (stone) is not in the
centre, then turn the red dot sights adjustment wheels to attempt to
correct the error and take another shot. Repeat a couple of times until
your target (stone) is slap bang in centre of photo. Sorted, it’s that
simple!
Although you can, there is no need to recalibrate if the subjects are
slightly nearer or further away, just allow for it. Here’s how…
IE: if subject is slightly nearer place the red dot slightly above it.
If subjects further away then place the red dot slightly below it. It's
as simple as that. Using this method – and it gets so much easier with a
little practice, there is no need to keep recalibrating if the action is
rapid and erratic.
|
 |
This method
is very quick and most useful when subjects are close and of varying
distance, for example when attempting to shoot ‘things’ in flight. IE:
Nearby Dragonflies, Butterflies, or small birds.
Misunderstandings regarding red dot sights...
Red Dot Sights have no
optical lens elements as such, they just provide a much wider field of
view than a long telephoto lens, which in turn makes it far easier to
locate a target, especially a fast moving target. So the only thing the
camera operator need concern with is placing that red dot exactly where
required on the subject.
Once the red dot sight
is setup correctly, if the red dot appears in the middle of your target,
then your subject will appear in the middle of your photograph.
Red dot sights do not
actually send an infra red beam all the way to your subject. It just
projects a red dot on a piece of clear glass inside the unit itself.
Therefore no harm can be done to wildlife.
Tips & suggestions always appreciated.
Article
© Adrian Harris
|